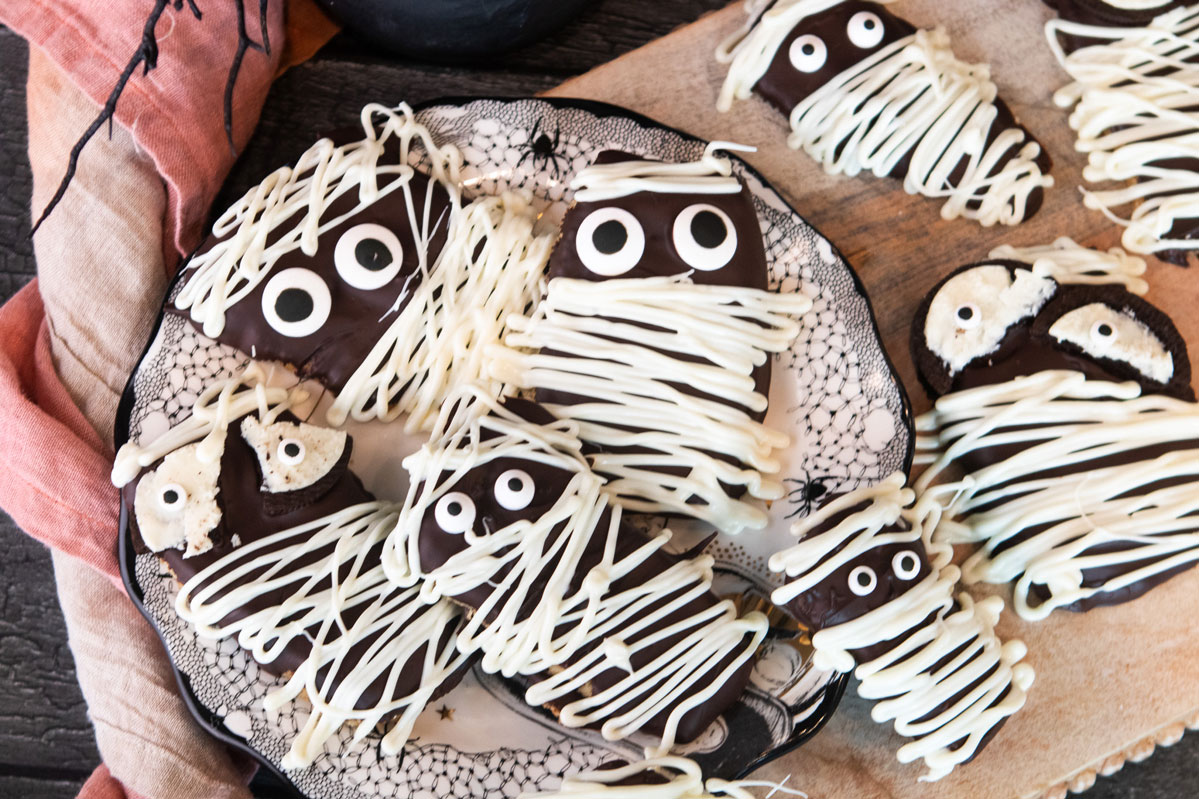
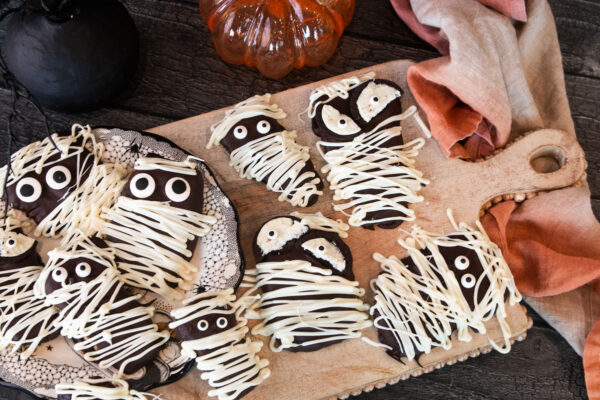
Chocolate Mummy Cookie Bars are a fun little Halloween project that turns buttery brown sugar cookie bars into the cutest spooky treats! Each bar gets dipped in dark chocolate, then drizzled with white chocolate to create those adorable mummy bandages, with a pair of candy eyes peeking through. You can even use little pieces of Oreo cookies to give your mummies bigger eyes. They’re playful, a little messy in the best way, and just the thing to add to your Halloween dessert table. Ready to wrap up a few mummies?
Start by creaming the butter, brown sugar, and vanilla until the mixture is light and fluffy. Beat in the egg, then add the flour and salt, mixing just until a soft dough forms.
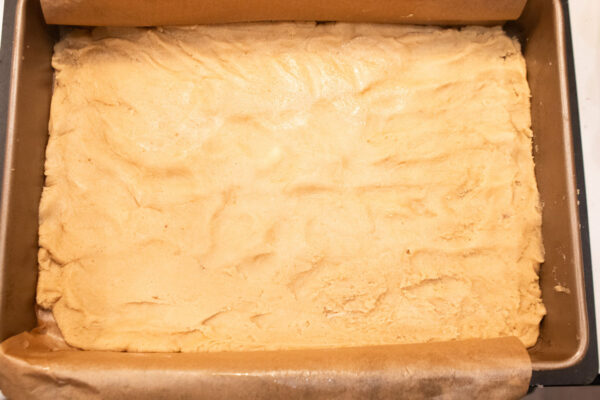
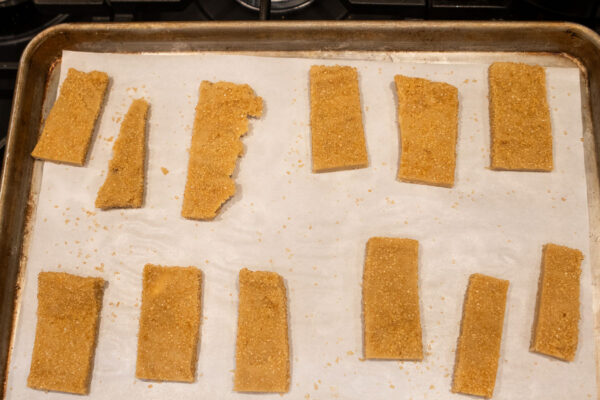
Press the dough evenly into a baking pan, then freeze it until firm. This makes it much easier to cut the dough into neat little bars. Once cut, roll the bars in coarse sugar for a bit of sparkle and crunch, then freeze them again before baking. Chilling helps the bars hold their shape in the oven.
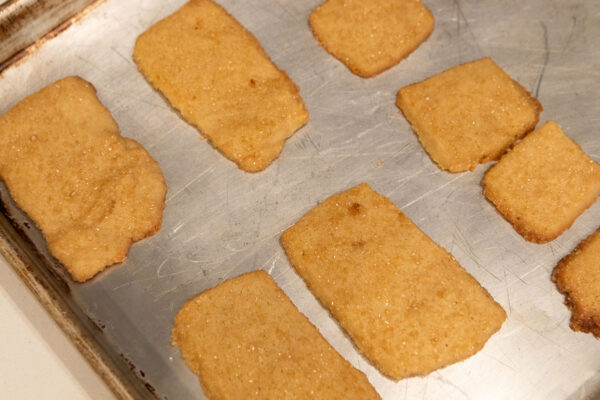
Bake until the edges are lightly golden, then let the bars cool completely before decorating. You don’t want to rush this part, or the chocolate will melt right off!
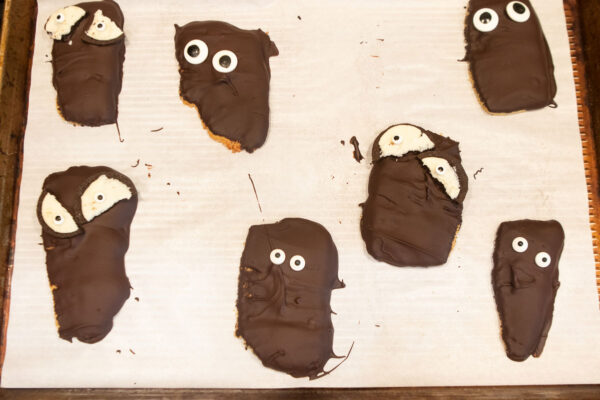
Melt the dark chocolate in a small, narrow bowl to make dipping easier and help avoid wasting chocolate. Dip each cooled bar, letting any excess chocolate drip back into the bowl. Add the candy eyes while the coating is still wet so they stay put.
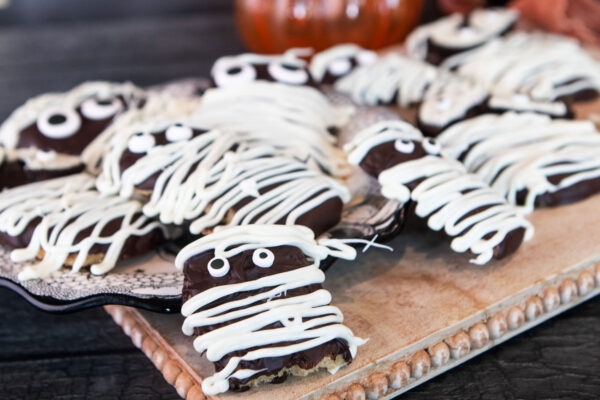
Once the chocolate coating has set, drizzle white chocolate over the bars in thin, overlapping lines to create the mummy bandages. If you want to give your mummies bigger eyes, add small pieces of Oreo cookies around the candy eyes. Let everything set before serving, and you’ll have a batch of Halloween treats with plenty of personality!
Share Your Thoughts...
Lastly, if you make Chocolate Mummy Cookie Bars, be sure to leave a review down below at the bottom of this page (stars are also appreciated)! Above all, I love to hear from you and always do my best to respond to each and every review. And of course, if you do make this recipe, don’t forget to tag me on Instagram! Looking through the photos of recipes you all have made is one of my favorite things to do!
Chocolate Mummy Cookie Bars
Makes: 22 bars
Prep Time: 25 minutes
Bake Time: 15 minutes
Total Time: 40 minutes plus chill time 1 hour & 15 minutes
Ingredients
For the Cookie Bars:
1 cup (2 sticks) salted butter, at room temperature
3/4 cup light or dark brown sugar
2 tsp vanilla extract
1 large egg, at room temperature
2 & 1/4 cups all-purpose flour
1/4 tsp salt
1 cup coarse turbinado sugar, for coating
For Decorating:
1 cup dark or semisweet chocolate chips, plus more as needed
1/4 cup white chocolate chips, plus more if needed for the mummy drizzle
Candy eyes
Oreo cookies, optional, for larger eyes
Instructions
Preheat the oven to 350°F. Line a 9 x 13-inch baking pan with parchment paper, leaving a little overhang to make removing the dough easier.
In a large bowl, beat the butter, brown sugar, and vanilla with an electric mixer until combined and creamy. Add the egg and mix until incorporated. Add the flour and salt, mixing just until a soft dough forms.
Press the dough evenly into the prepared pan. Freeze for 30 minutes, or until firm enough to cut cleanly.It will be a very thin layer.
Lift the dough from the pan using the parchment. Cut it into 22–24 rectangular bars. Place the turbinado sugar in a shallow bowl and roll each bar in the sugar, gently pressing so it adheres. Arrange the bars on parchment-lined baking sheets, leaving space between them. Freeze for another 30 minutes to 1 hour.
Bake for 12–15 minutes, until the edges are lightly golden. Let the cookies cool on the baking sheets for a few minutes, then transfer them to a wire rack to cool completely.
Place the dark chocolate chips in a microwave-safe bowl and microwave in 20–30-second intervals, stirring between each, until smooth. Repeat with the white chocolate in a separate bowl. Let the melted chocolate cool slightly so it is fluid but not hot.
Dip each cooled cookie bar into the dark chocolate, coating it as desired. Place the bars on a parchment-lined baking sheet. While the coating is still wet, add candy eyes. For larger eyes, use small pieces of Oreo cookies as a base and secure the candy eyes with a dab of melted chocolate.
Once the chocolate coating has begun to set, drizzle white chocolate over the bars in thin, irregular lines to create the mummy wraps. Refrigerate until the chocolate is completely set.
Chef’s Notes:
Chocolate for dipping: The amount needed depends on how deeply you dip the bars and how thick you want the coating. Start with 2 cups of each chocolate, and melt more if necessary.
Cutting clean bars: Freezing the dough before cutting makes it easier to create neat rectangles. If the dough softens while you’re working, return it to the freezer briefly.
Decorating: Add the candy eyes before the chocolate sets so they stick. For the mummy wraps, use a spoon or a small piping bag to drizzle the white chocolate.
Make ahead: Bake the cookie bars a day ahead and decorate them when convenient. Once decorated, store them in an airtight container in the refrigerator. Let them sit at room temperature briefly before serving for the best texture.
Chocolate setting: Refrigerating the bars helps the chocolate firm up, especially in a warm kitchen. Avoid stacking them until the coating is completely set.





Leave a Review